What this guide proves
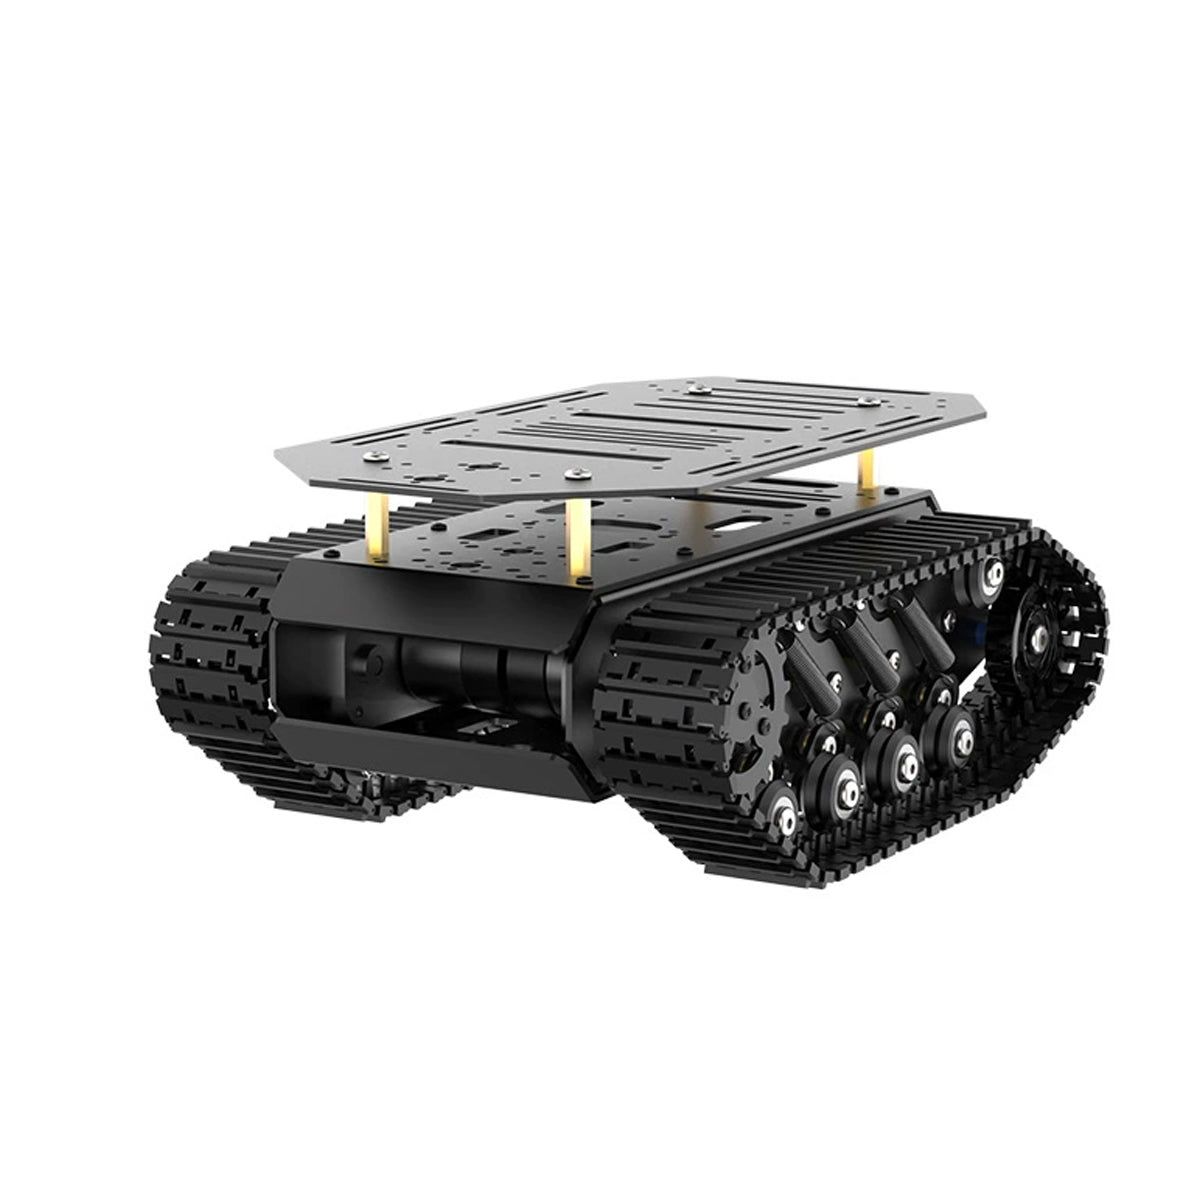
The delivered Cogalloy T1 Advanced-compatible base has a documented packing state, mechanically sound tracks and suspension, an identified power path, and no unverified connection to the Raspberry Pi or controller.
Hardware and scope boundary
This chassis SKU is not a complete ROS robot. It includes the tracked base, motors, driver, 11.1 V / 6000 mAh pack and 12.6 V charger as listed; it does not establish the host computer, sensors, software image or every expansion harness for a custom build.
Prepare before applying power
Keep the battery disconnected while inspecting. Photograph the delivered labels and connectors, preserve the packing list, and use the charger only for the supplied battery system after verifying its label, connector and local safety requirements.
Procedure
- Inspect the aluminum chassis, double-layer deck, spring suspension, tracks, idlers, fasteners and expansion holes. Correct loose mechanical parts before electrical work.
- Trace the motor, encoder and driver harnesses without unplugging by force. Label left/right and front/rear based on the intended robot forward direction.
- Identify the supplied 11.1 V pack and 12.6 V charger as one verified pair. Keep it separate from the 7.4 V accessory battery SKU and from any unverified charger.
- Draw the intended power diagram: chassis battery and driver, regulated host power, controller input, sensors and any emergency power-disconnect method. Do not connect the Pi directly to a chassis battery rail.
- Perform the first powered observation with the drive output disabled or the chassis safely supported. Check for unexpected heat, smell, vibration or cable strain before enabling any command source.
Pass criteria and record
The build record includes photos, battery/charger identity, connector labels, a power diagram and mechanical inspection result. All connectors are strain-relieved and the expansion deck remains clear for future service.
Do not proceed when
Stop for swollen, damaged or unidentified battery hardware; uncertain charger pairing; pinched cables; loose track hardware; or any sign of heat or smell during a no-motion power check.
Continue from here
Commission the low-level controller with loads disconnected, then perform the supervised cmd_vel acceptance sequence.